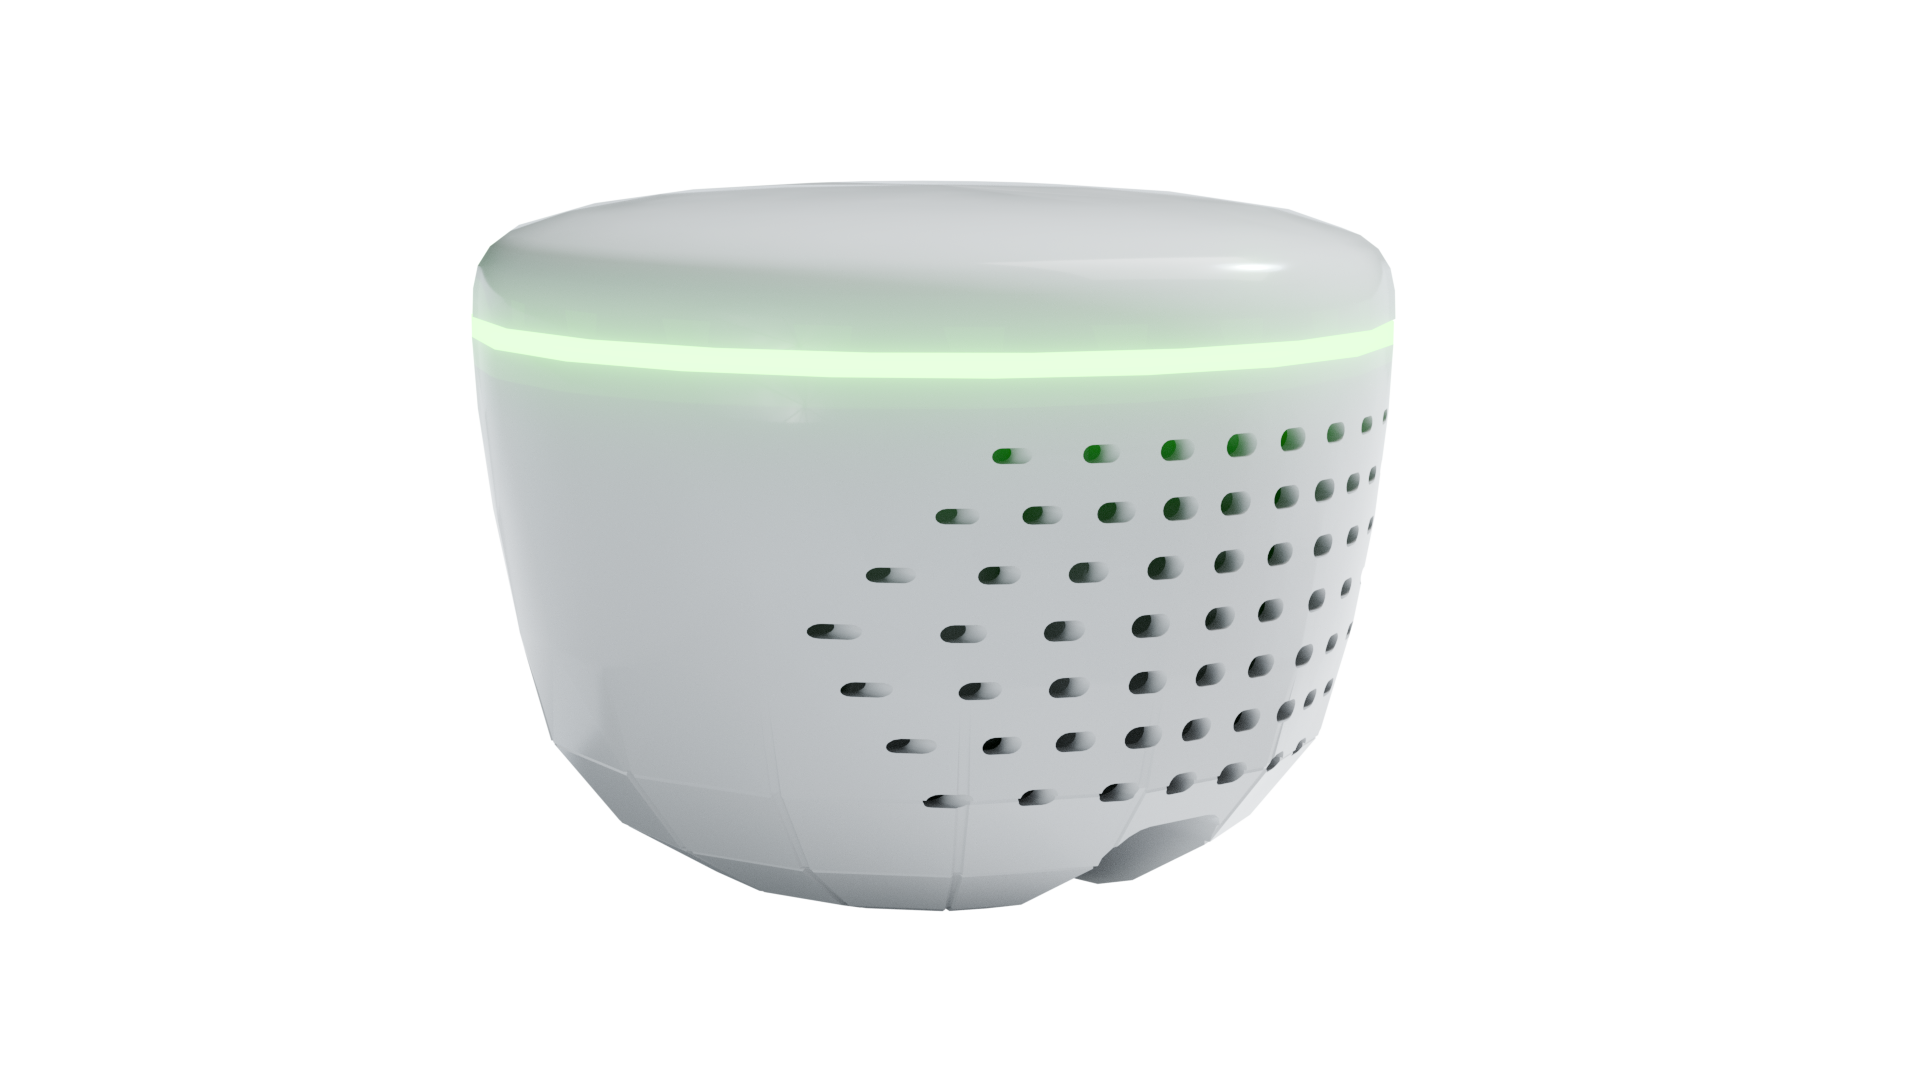
Flash firmware to your HAVEN devices safely and easily.
Simply connect your device via USB and follow the steps below.
1
Connect Your Device
1. Connect your HAVEN device to your computer using a USB cable
2. Make sure the device is powered on
3. When the browser asks for serial port access, look for a device with "USB JTAG" or "usbmodem" in the name
Choose a workflow
Pick the task you want to run over this USB connection.
💡 Device Selection Tip: When the browser asks for serial port access, look for a device with "USB JTAG" or "usbmodem" in the name. This is typically your HAVEN device. Avoid selecting Bluetooth or other non-USB devices.
Browser Compatibility: This tool works best in Chrome or Edge browsers.
If you're using Safari or Firefox, please switch to Chrome for the best experience.
2
Select Firmware
Choose the update type that matches your situation.
3
Flash Firmware
Click the button below to start flashing the firmware to your device.
Do not disconnect the device during this process.
Preparing...
Home Assistant MQTT Config
Configure local Home Assistant MQTT settings over USB serial. This writes settings to the device's NVS storage and does not flash firmware.
Step 1: Verify Device And Load Existing Settings
Read current config first. This confirms the device supports USB Home Assistant setup and loads any existing host, port, and username before changes are allowed.
Step 2: Edit Home Assistant MQTT Config
Locked until Step 1 passes
Step 1: read current config to verify compatible firmware and load existing settings.
📡
Serial Monitor & Debug Logs
Monitor live device logs to debug connectivity issues. Perfect for troubleshooting Starlink, WiFi, or MQTT problems.
Monitoring active - 5:00 remaining
Logs will automatically stop after 5 minutes and be ready for download.
📡 HAVEN Serial Monitor Ready
Click "Start 5-Minute Log Session" to begin monitoring device logs...